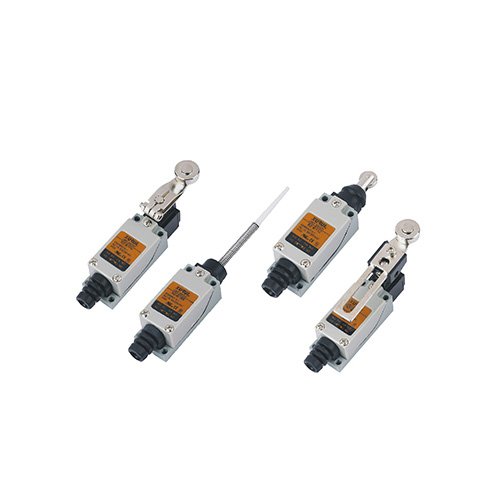
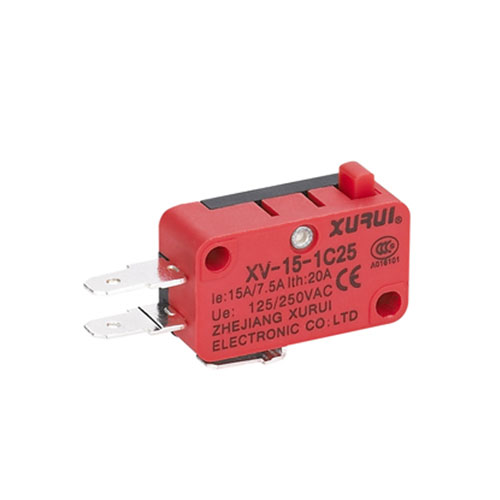
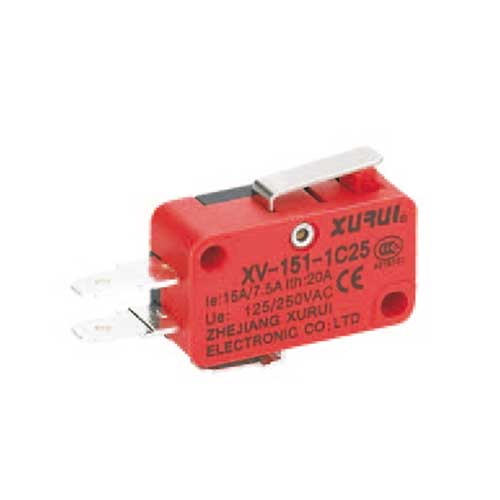
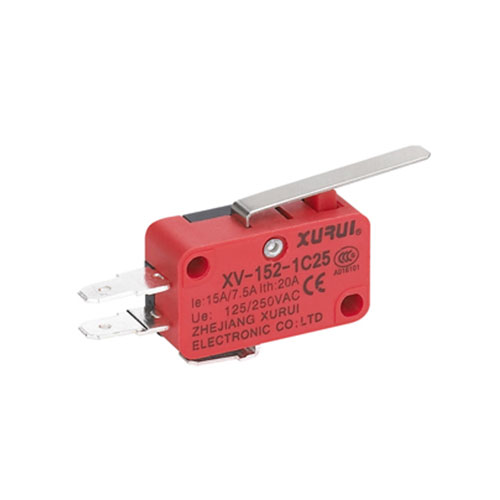
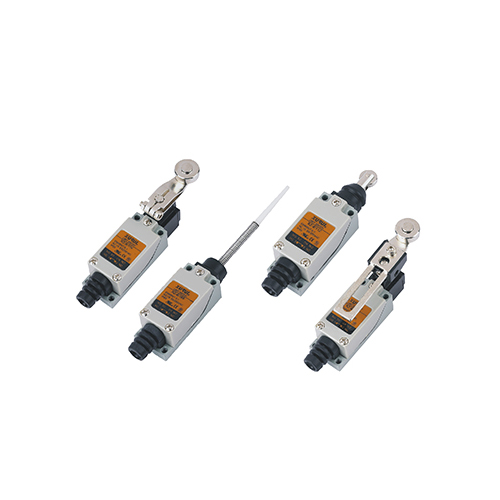
Limit switches are widely used in industrial machines, elevators, and other automated systems to detect the position or movement of a component. Like all electromechanical devices, they may wear out or fail over time. Regular inspection ensures reliable performance and prevents equipment downtime. Below is a guide on how to check a limit switch effectively.
Steps to Check a Limit Switch
1. Safety First
Disconnect the machine from power before touching the switch.
Make sure you’re wearing proper safety equipment such as insulated gloves if required.
2. Visual Inspection
Look for physical damage, such as bent actuators, broken housing, or loose connections.
Check for dust, oil, or debris that may block the switch movement.
3. Manual Actuation
Press or move the actuator arm/roller by hand.
Ensure it moves smoothly and returns to its original position without sticking.
4. Continuity Test (Using a Multimeter in Ohms Mode)
Set the multimeter to the continuity or resistance (Ω) setting.
Connect the probes to the switch terminals.
Actuate the switch manually:
When the switch is not pressed, the circuit may be open (OL) or closed, depending on the switch type (NO or NC).
When the switch is pressed, the state should change (from open to closed or vice versa).
If the readings do not change, the switch may be faulty.
Alternative Test: Using a Voltmeter
If you prefer to check the switch while it’s still connected to the circuit, you can use a voltmeter:
1. Restore Power (With Caution)
Turn the power back on to the machine.
Take extra care to avoid contact with live wires.
2. Measure Voltage Across Terminals
Place the voltmeter probes across the limit switch terminals.
Actuate the switch by moving the actuator arm.
You should see a change in voltage (from supply voltage to near zero, or vice versa) when the switch is engaged.
3. Interpret the Results
If there’s no change in voltage when actuating the switch, the contacts may be worn out or the wiring may be faulty.
Important Considerations
Know the Switch Type: Limit switches can be normally open (NO) or normally closed (NC). Understanding the contact configuration helps interpret test results correctly.
Avoid Short Circuits: Always ensure probe placement is correct to prevent accidental shorts.
Check the Environment: Moisture, dust, and oil can cause false readings or mechanical sticking. Regular cleaning may extend the switch’s life.
Replace if Needed: If the switch fails tests or shows inconsistent results, replacement is usually more reliable than repair.
Conclusion
Checking a limit switch involves both mechanical and electrical inspection. Start with a continuity test using a multimeter, and if necessary, confirm with a live voltage test. Following safety guidelines and considering environmental factors will ensure accurate results and keep your equipment running smoothly.
FAQ
Q1: How do I know if my limit switch is faulty?
A: Common signs include no continuity change during testing, inconsistent voltage readings, physical damage to the actuator, or the machine not responding when the switch should be triggered.
Q2: What tools do I need to test a limit switch?
A: A basic digital multimeter (for continuity or resistance) or a voltmeter (for live voltage checks) is sufficient.
Q3: Can I test a limit switch without removing it from the machine?
A: Yes. You can perform a voltage test using a voltmeter while the switch is installed and powered. However, a continuity test is safer and usually more accurate when the switch is isolated.
Q4: What’s the difference between NO (Normally Open) and NC (Normally Closed) limit switches?
A: NO switch: The circuit is open when idle, and closes when actuated.
NC switch: The circuit is closed when idle, and opens when actuated.
Understanding this helps interpret test results correctly.