Limit switches are key components in industrial automation and control systems. These electromechanical devices detect the presence, absence, or travel limits of a machine. When a limit switch fails, it can cause downtime, production loss, or safety risks. Understanding how a limit switch works and how to troubleshoot it is essential for maintenance technicians and engineers. This guide covers their working principles, troubleshooting steps, and common problems with solutions.
How Does a Limit Switch Work?
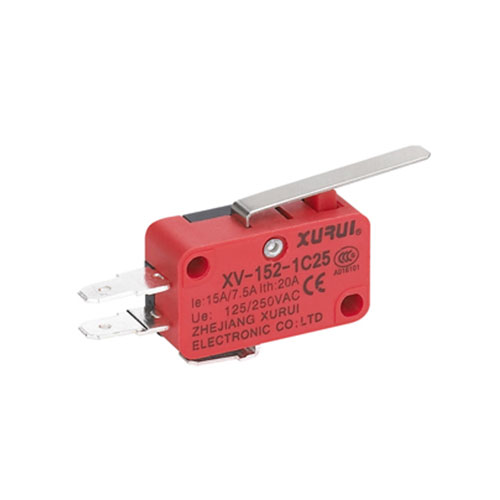
At its core, a limit switch is a simple device. It consists of an actuator (a lever, roller, or plunger) mechanically linked to a set of internal electrical contacts. When an external object, such as a machine part, comes into contact with the actuator, it moves it from its "normal" position. This physical movement triggers the internal mechanism to open or close the electrical contacts.
-
Normally Open (NO): In its resting state, the circuit is open, and no current flows. When the actuator is pressed, the contacts close, completing the circuit and sending a signal to the controller.
-
Normally Closed (NC): In its resting state, the circuit is closed, and current flows. When the actuator is pressed, the contacts open, breaking the circuit and stopping the signal.
This simple "on/off" signal is used to control machinery sequences, provide safety interlocks, or indicate a position. For example, a limit switch on a garage door stops the motor when the door reaches the fully open position.
Troubleshooting a Limit Switch: A Step-by-Step Guide
When a machine malfunctions and a limit switch is suspected, follow this logical troubleshooting process. Always ensure the machinery is locked out and tagged out (LOTO) before performing any physical inspection to ensure safety.
1. Visual Inspection:
Check the switch body for any obvious physical damage, such as cracks or dents.
Inspect the actuator mechanism. Is it bent, broken, or stuck? Ensure it moves freely and returns to its normal position when released.
Examine the mounting. Has the switch become loose or misaligned? Even a slight misalignment can prevent the target from properly actuating the switch.
2. Check Electrical Connections:
Verify that all wiring connections at the switch's terminals are tight and secure. Loose wires are a common cause of failure.
Look for signs of corrosion, burning, or damaged insulation on the wires.
3. Perform a Electrical Test with a Multimeter:
Isolate the switch from the power source if possible.
Set your multimeter to the resistance (Ohms) or continuity setting.
Identify the switch's configuration (NO or NC). For a Normally Open (NO) switch, you should measure infinite resistance (open circuit) when the actuator is not pressed. When pressed, the resistance should drop to near zero (closed circuit). For a Normally Closed (NC) switch, the opposite is true.
4. Verify the Signal at the Control System:
If the switch tests fine electrically, the problem might lie elsewhere.
Re-energize the system and carefully observe the input indicator on the PLC or controller while manually actuating the switch. Does the correct input light turn on and off? If not, there may be an issue with the wiring between the switch and the controller.
Common Problems and Solutions of Limit Switches
Here are some typical issues you might encounter and how to resolve them.
Problem 1: Switch Does Not Actuate (No Signal)
Causes: Misalignment, damaged actuator, faulty internal contacts, loose wiring.
Solutions: Realign the switch and its target. Replace a bent or broken actuator. If the internal mechanism is faulty, replace the entire switch. Tighten all electrical connections.
Problem 2: Switch Activates Intermittently or Erratically
Causes: Loose mounting, worn-out internal contacts, dirt or debris on the actuator mechanism, a failing switch.
Solutions: Secure the mounting hardware. Clean the actuator and housing. If contacts are arcing and pitted, the switch needs replacement.
Problem 3: Switch is Stuck in One Position
Causes: The actuator mechanism is physically jammed by debris or damage. The internal spring is broken.
Solutions: Clear any obstruction. If the actuator does not spring back freely, the switch must be replaced.
Problem 4: False Triggering
Causes: Vibration causing the switch to jiggle, incorrect switch type for the application (e.g., not robust enough), or the target is hitting the switch with too much force.
Solutions: Ensure the switch is securely mounted. Install a switch with a different actuator type (e.g., a wobble stick) that is less susceptible to vibration. Adjust the machine stroke or install an adjustable stop to prevent over-travel and impact.
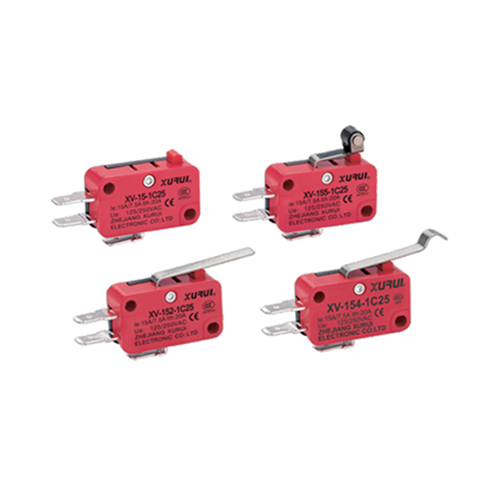
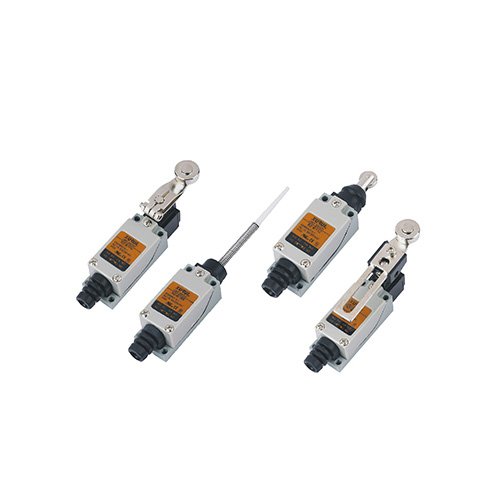
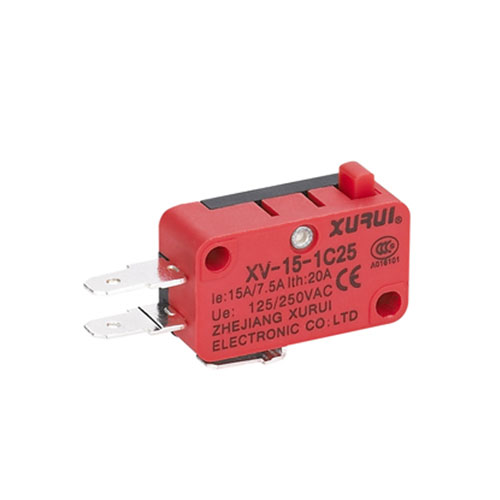
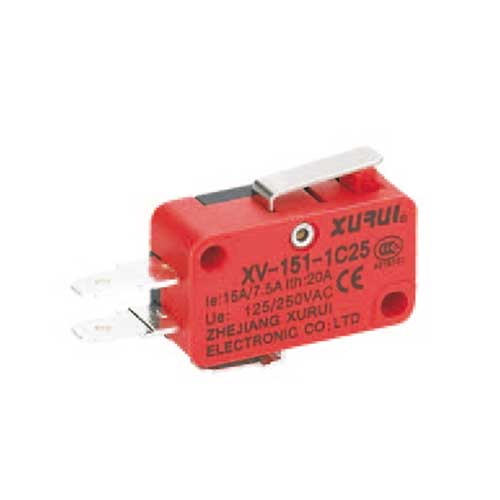
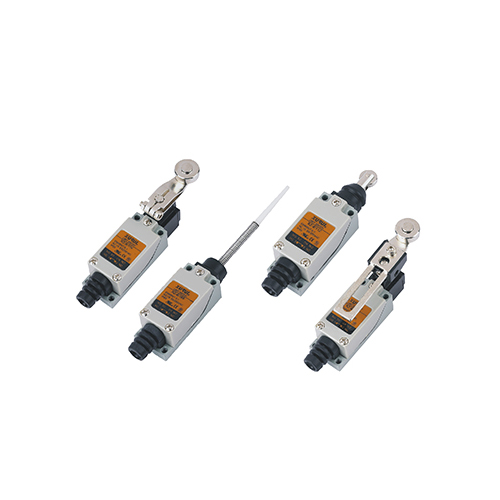
Xurui Limit Switches: Trusted for Industry
Xurui offers diverse, certified limit switches for industrial needs, with the same core design as standard switches—so the above troubleshooting applies.
Series Range: XZ7 (CE), XZ8 (CE/US/TOV/RoHS), XZ5, XZ-91 (metal vertical), XZ-95M (plastic vertical), XHL (metal multi-position), plus general vertical/horizontal models.
Compliance: Meets CE, RoHS, and select US/TOV standards for global use.
Durability: Metal housings for harsh environments; plastic for cost-effective, lighter applications.
Conclusion
Troubleshooting a limit switch is a systematic process that starts with understanding its basic operation. By following a logical sequence—visual inspection, electrical testing, and signal verification—you can quickly identify and resolve most issues. Regular preventive maintenance, including cleaning and checking for loose connections, can significantly extend the life of these critical components. Whether you are using a standard industrial switch or a high-performance model from a manufacturer like Xurui, a methodical approach to troubleshooting will minimize downtime and keep your operations running smoothly.