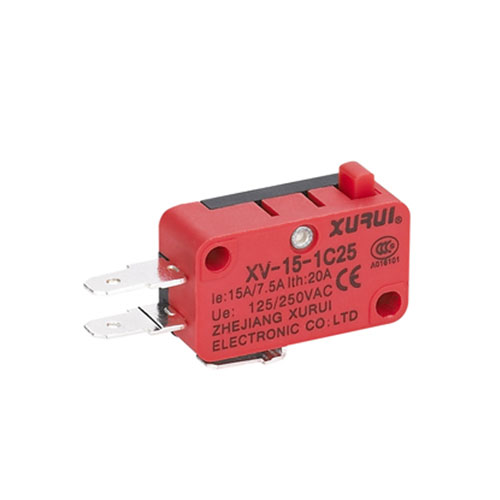
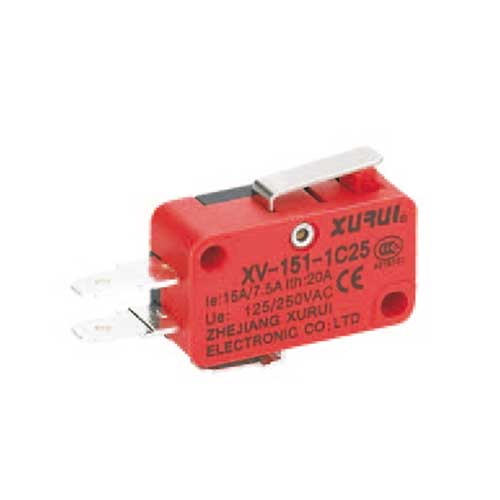
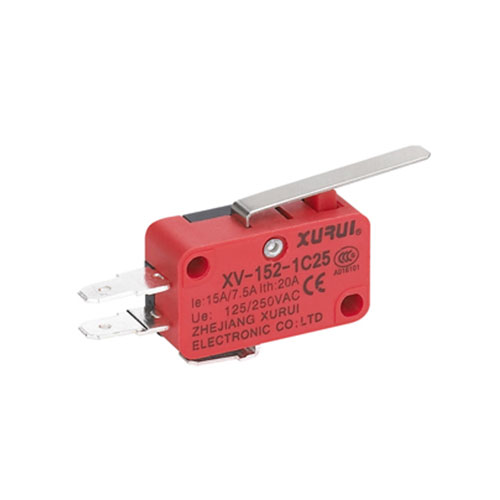
Micro limit switches, also known as micro switches, are critical mechanical-electrical components widely used in devices like gaming controllers, washing machines, and vending machines. Their reliable operation directly affects the performance of the equipment they’re installed in. Over time, wear and tear, dirt buildup, or misalignment can cause these switches to fail. To ensure their functionality, a systematic testing process—combining mechanical and visual inspection, electrical testing with a multimeter, and recognition of faulty signs—is essential.
Mechanical and Visual Inspection
Mechanical and visual checks are the first line of defense to identify obvious issues with a micro switch, as many faults manifest in physical form or abnormal mechanical behavior.
-
Check for physical damage: Inspect the switch’s exterior for visible flaws such as cracks, chips, or dents on the housing. Gently press the switch to feel if it is loose or wobbly; a unstable switch often indicates internal component damage and may not function properly.
-
Verify proper alignment: Micro switches rely on precise alignment between their actuator (the part that triggers the switch) and internal contacts. Examine the actuator to ensure it lines up correctly with the contact mechanism. Misalignment can lead to delayed triggering or complete failure to activate.
-
Clean dirt and debris: Dirt, dust, or debris buildup on the switch’s contacts or actuator can block electrical connections. Use a soft-bristled brush or compressed air to remove any buildup—avoid using liquid cleaners, as they may cause corrosion.
-
Test actuation force and listen for a click: Press the switch repeatedly to assess the actuation force (the pressure needed to activate it). If the force is significantly higher or lower than the switch’s specified standard, it may be faulty. Additionally, a functional micro switch should produce a clear, audible “click” when pressed—this sound signals that the internal contacts have closed properly. No click usually means the contacts are not engaging.
Electrical Testing with a Multimeter
Electrical testing using a multimeter is a definitive way to check if the switch’s internal electrical path is intact, focusing on continuity (the flow of electricity between terminals).
-
Prepare the multimeter: Set the multimeter to the resistance mode (labeled “Ω” or “ohms”). Ensure the multimeter is calibrated correctly—if possible, test it on a known good circuit to confirm accuracy.
-
Connect the multimeter probes: Touch one multimeter probe to each of the micro switch’s terminals. Make sure the probes have a secure contact with the terminals (avoid touching the probes with your fingers, as this can interfere with readings).
-
Interpret the readings
- Resting state (switch not pressed): The multimeter should display “infinity” (or a symbol like “OL”), indicating no electrical continuity—this means the circuit is open, as intended.
- Pressed state (switch activated): The multimeter should drop to “0” ohms, showing full continuity—this means the circuit is closed, allowing electricity to flow.
- Identify faulty scenarios
- If the multimeter shows no change (still infinity) when the switch is pressed, there is no continuity, and the switch’s internal contacts are likely broken.
- If the multimeter always reads 0 ohms (even when the switch is not pressed), the switch is “stuck closed,” meaning the contacts are permanently connected and cannot reset.
Signs of a Faulty Micro Switch
Even if you don’t complete full mechanical or electrical tests, certain clear signs can indicate a micro limit switch is faulty and in need of replacement.
- No continuity: As detected in multimeter tests—if the switch fails to show continuity when pressed, it cannot transmit electrical signals.
- Inconsistent readings: The multimeter displays fluctuating values (e.g., jumping between 0 and infinity) instead of stable “infinity” or “0.” This points to internal contact issues, such as corrosion or loose connections.
- No actuation response: The switch does not trigger (e.g., no click, no electrical signal) when its actuator is pressed or moved. This may result from a broken actuator or seized internal components.
- Burn marks or corrosion: Visible burn marks on the switch housing or terminals, or rust/corrosion on contacts, indicate electrical arcing or moisture damage—these are signs of severe internal faults that pose safety risks.
By following these testing steps—starting with mechanical and visual checks, moving to precise electrical testing with a multimeter, and recognizing key faulty signs—you can accurately determine if a micro limit switch is functional. If the switch fails any of these checks, it is recommended to replace it promptly to avoid equipment malfunctions or safety hazards. For professional testing of micro switches or limit switches, you can also contact specialized manufacturers or technicians for support.